My First Infographic Made with Canva
For my infographics project I used Canva to complete it. I chose Canva because we have used it before and it actually had a graphic "design" that would show different layouts that you could choose from. This was actually quite an easy project to do because I used Canva. The layout I used made it easy to understand and put things where I wanted them to go. I could also search any pictures that I wanted to add in the graphic and paste/size them immediately. It was pretty self explanatory and simple to use on this website/app. Heres a little step by step on how I did this on Canva:
1) Go on to canva.com
2) At the top of the page I chose "Blog Graphic" for my design because it fit well
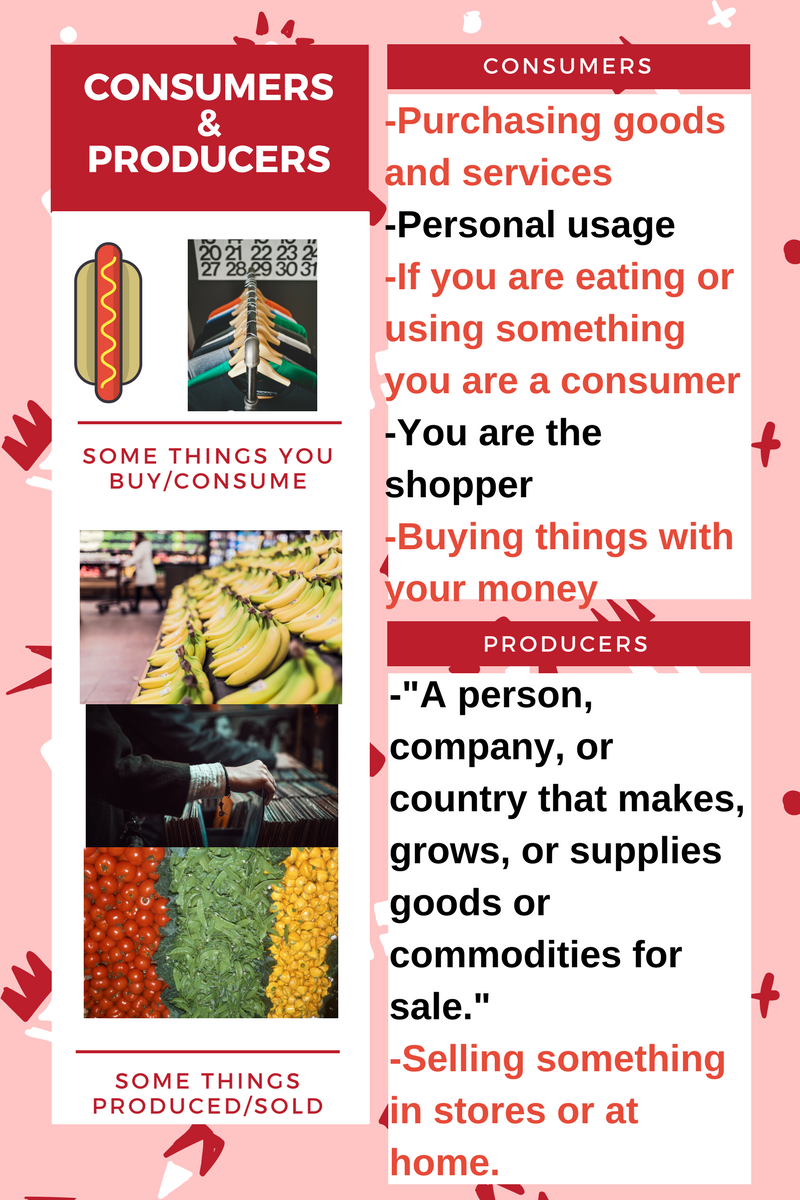
3) I then chose my theme that you can see above and changed the words to what I wanted them to be
4) The Last thing that I did was look up certain pictures that I thought went well with the words
5) Once done with my graphic all you have to do is save it to your computer and click "Make Public" in the top righthand corner of your project
See, it's super easy. It has very few steps and this is why I would definitely recommend Canva for creating infographics and for any creative poster-type thing you can think of. It's fun and easy to use at the same time therefore it is perfect for us teachers to use!
1) Go on to canva.com
2) At the top of the page I chose "Blog Graphic" for my design because it fit well
3) I then chose my theme that you can see above and changed the words to what I wanted them to be
4) The Last thing that I did was look up certain pictures that I thought went well with the words
5) Once done with my graphic all you have to do is save it to your computer and click "Make Public" in the top righthand corner of your project
See, it's super easy. It has very few steps and this is why I would definitely recommend Canva for creating infographics and for any creative poster-type thing you can think of. It's fun and easy to use at the same time therefore it is perfect for us teachers to use!